Van Life Diaries
#day 7
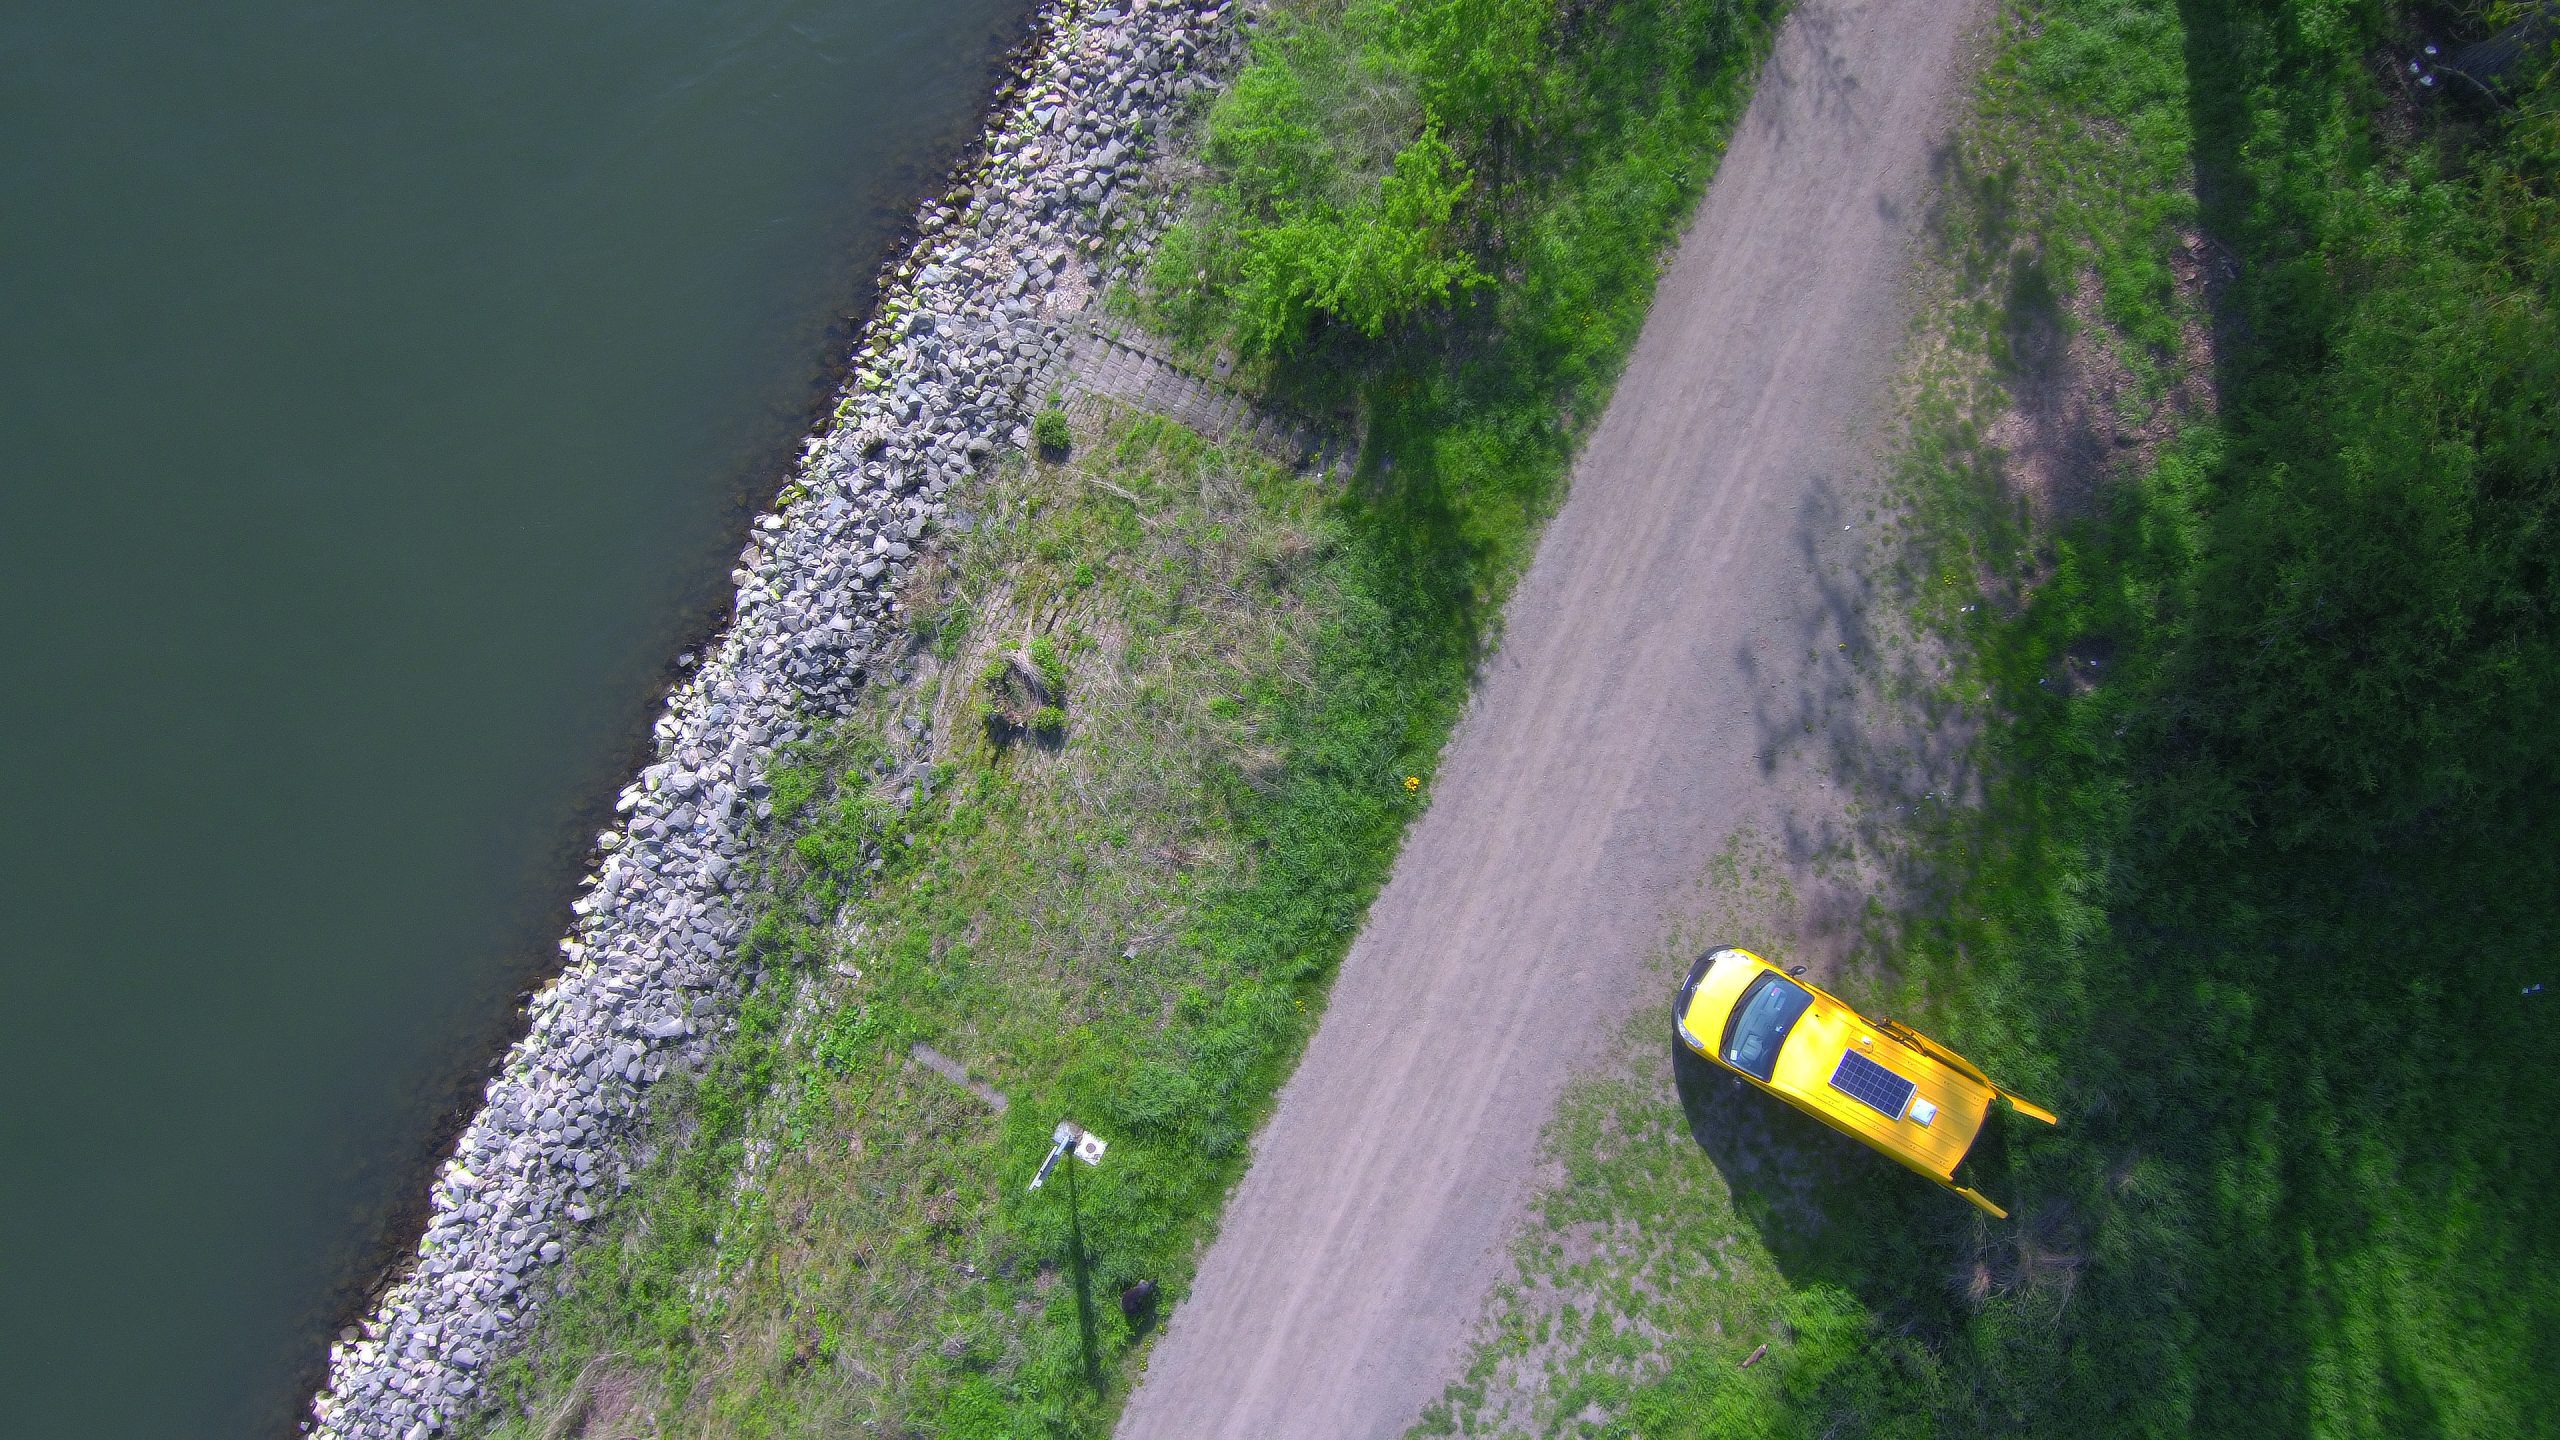
After installing the solar panel and having the floor done we were eager to continue with the inside of the van. The next step was the ceiling. We had some ideas for materials and design, but in the end we went with something completely different. We came across a material from a company called Echo Jazz that produces sonar insulation boards out of recycled plastic bottles. We had never heard of it before but it had several advantages as it was light, insulated the van against sound and – the best part – we got it completely for FREE because they were all leftovers. Before we mounted the ceiling, we had to run the electric cables through the ribs to be able to connect the light after. Unfortunately, we had to do it twice as we forgot the cable protection in the first place. But it worked in the end which was all we wanted.
We decided to go with two boards of Echo Jazz for the ceiling. A bigger, grey one first and then a smaller, white one with holes. After we cut them to the fitting size (including the hole for the roof vent that we couldn’t forget) we needed to find a way to fix them without falling down again. We decided to go for glue and then fixed it all with supporting stands. In the end we put some screws in to give additional support. It was not easy, but with help we got it in the end and we are really happy about the result. It’s unique and sustainable in one 😉


#day 8
As the ceiling was up, the next step was to mount the lights. We really hoped it would work because otherwise we would have a little problem. It was a bit annoying to install them but with teamwork we managed it and yay – it worked! We finally had light in the van. To finish up the ceiling, we had a frame for the roof vent made to cover up the edges of the Echo Jazz. Now it finally looked finished up there. Floor and ceiling – CHECK! Now on to the next step – the walls


#day 9
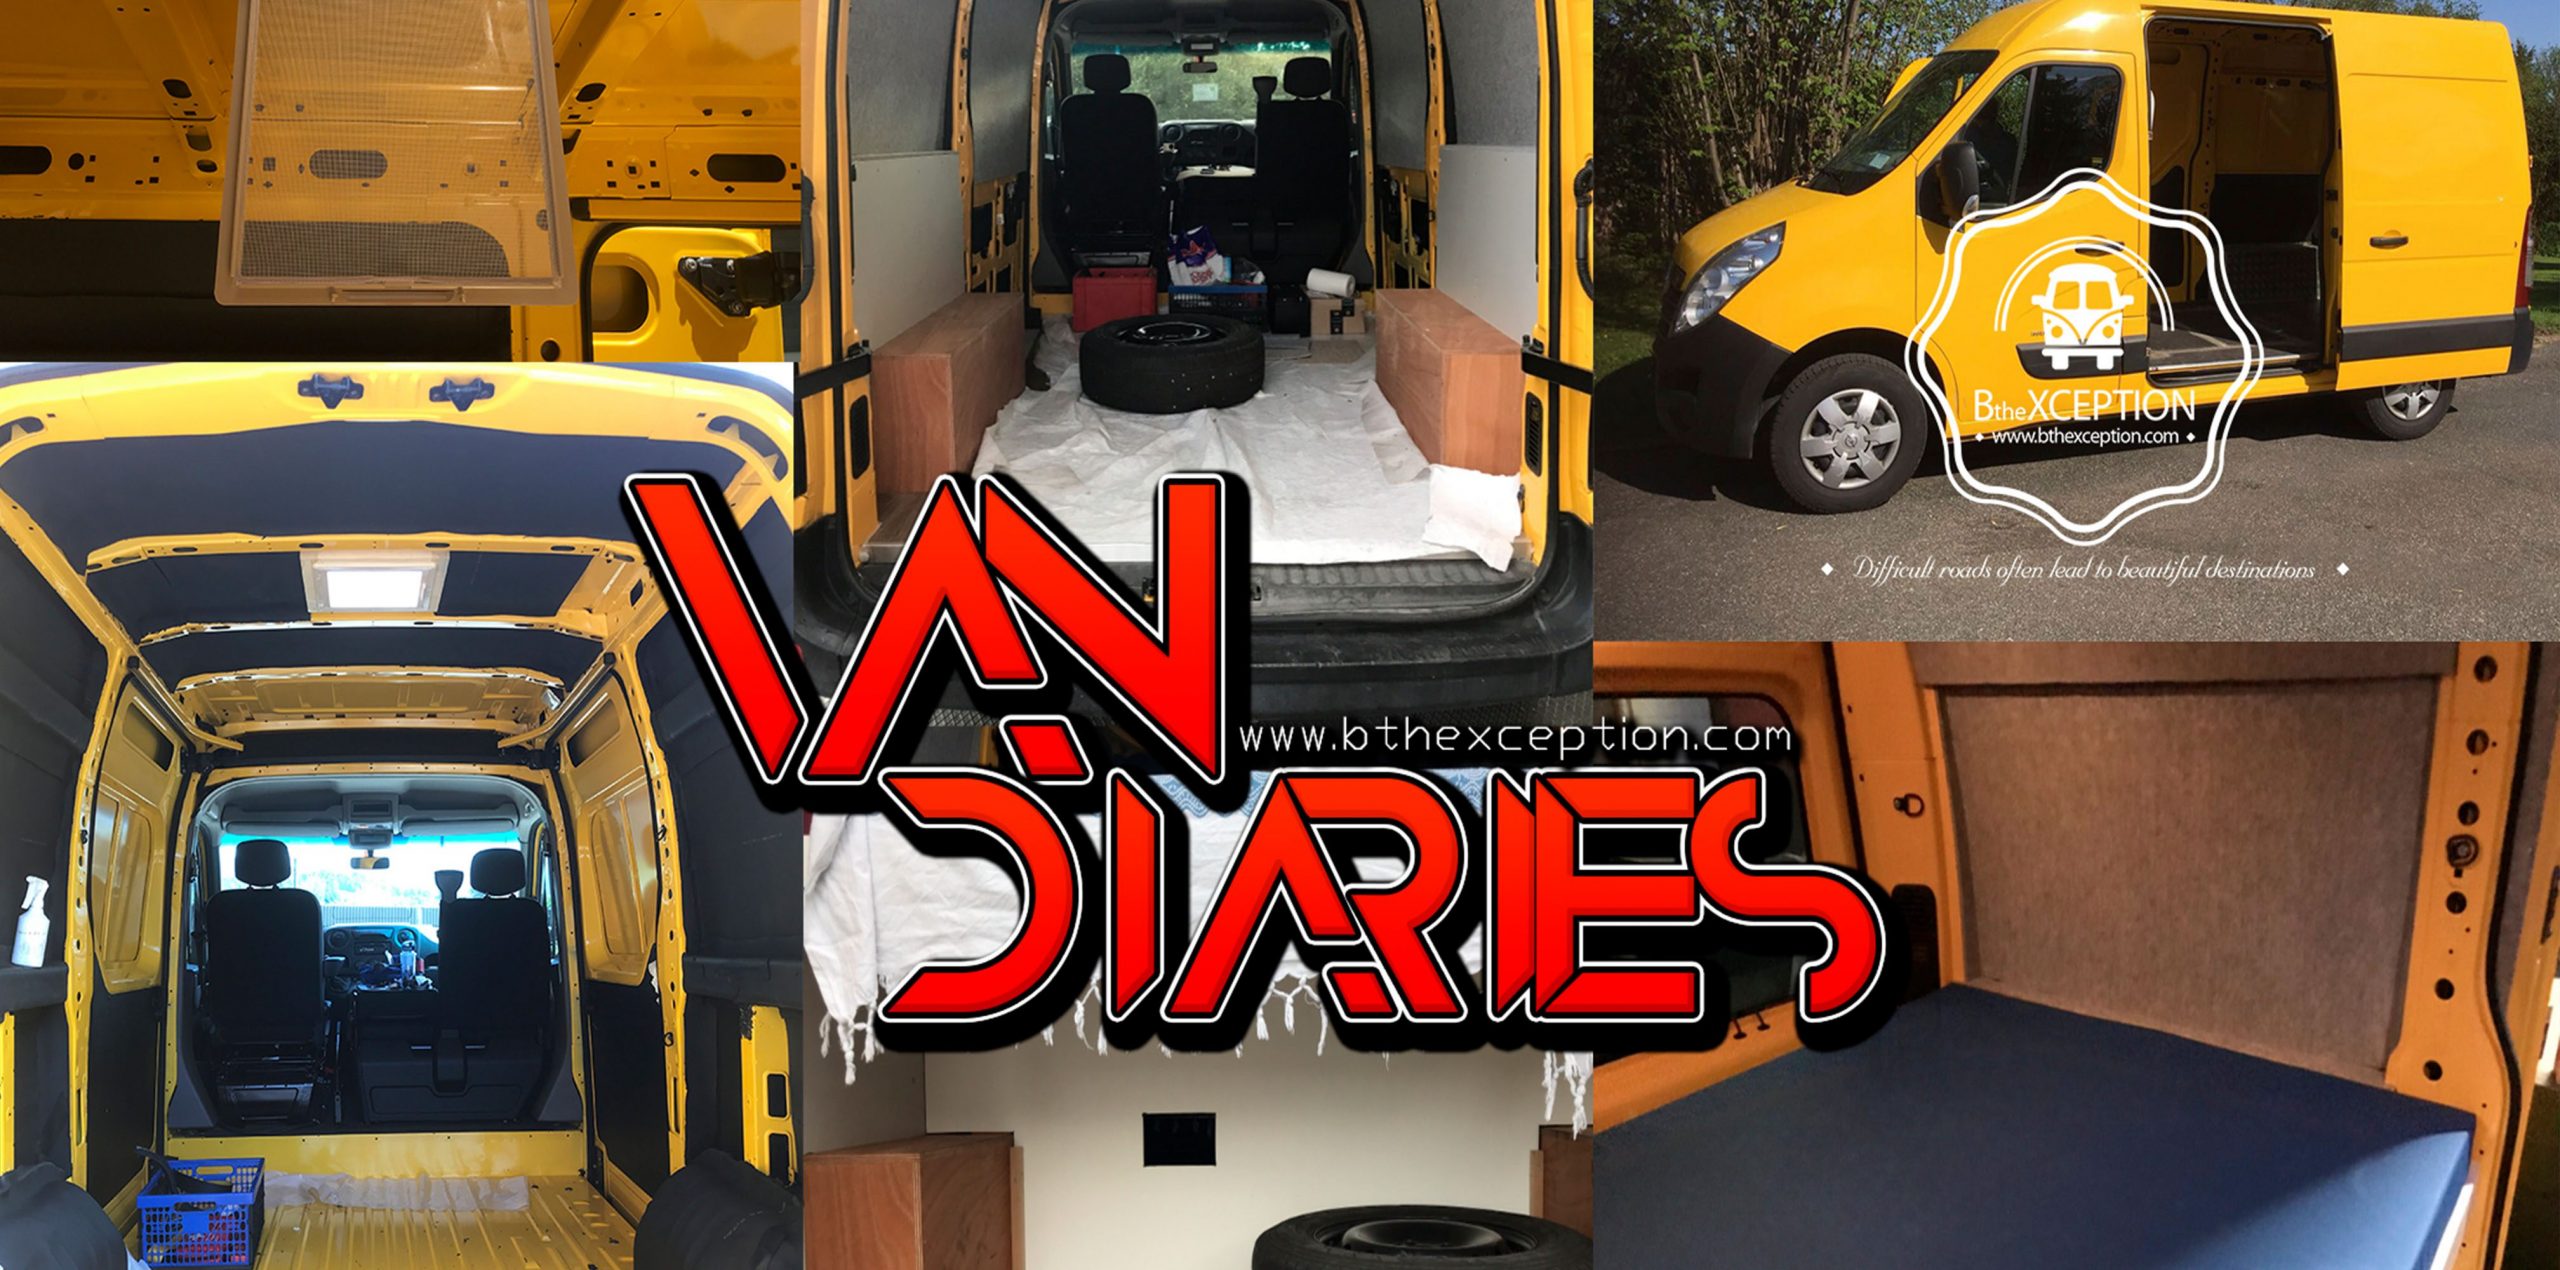
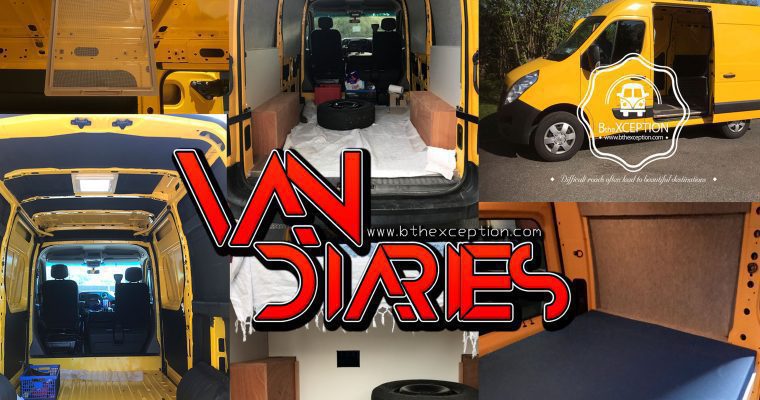
To do the walls, we used two different materials: Echo Jazz and wood. We started with the sliding doors, where we cut Echo Jazz for the upper part. On the walls over the bed we decided to go with Echo Jazz too. It was a light kind of grey that was neutral and still added a nice touch to the van. For the lower part of the sliding doors and under the bed we decided for grey painted wood. We did this to change things up a bit and still don’t make the van look like a weird mix. We loved the result and we were getting there. Not as fast as we wanted but with time we were getting the results we hoped for. We could also cover the wheels part with a wood box.
Meanwhile we ordered more stuff in amazon: 3 water tanks of 30l (for the kitchen), 1 water tank of 48l (for the shower), the compressor fridge 40l (it works either 12v or 220v), sink, tap, and some other small stuff.


#day 10
Last day of the walls. We applyed the Ecco Jazz in the back doors, which took us a bit of time but we were motivated because as soon as we finished the walls, we could go forward and start to think about the first structures (bed, kitchen, seats, storage, etc.). We also did the part above the cockpit, which was a bit a annoying to do as it is a tiny place and it was really hard to manage a way to apply the plywood. As result of it, the day after the plywood just fell. So we changed the plans: no more plywood, Echo Jazz was the solution 😀 After finishing it we started to measure to finally start to build the bed structure.
Meanwhile the plan on the computer was goin’ forward. We needed to learn the software, that is SKETCHUP 3D from Goole, and it took for sure more than a day. But when you are able to manage something like that you feel proud because you are able to create your own ideas. Everything you have on your mind you can draw. Just amazing. We also ordered the matress. For that we needed to go to a store and give the measures to make it exactly with the dimensions we need for the van. It took about a week to be done.


#day 11
It was the day to start to build the furniture and we were really excited about it. Everything that we needed for the bed was already done, so we just needed to apply it into the van. We wanted to use as much space as we could for the bed and to find a compromise with the size of the kitchen and the free space we can still have in the van. It is really hard to sleep comfortable in a van, in warm temperatures in a small bed, so our priority: have enough space for both of us. We still don’t have a king size bed or so, but we we did what we could 🙂 As we didn’t use plywood for the walls (over the bed), we were also able to get about 9/10 cm more there, which makes the space longer 😀 So two large pieces of wood (ribs) screwed to the wood and to the ribs of the van, a wooden board with holes on it et voilá. Soon when we build the under bed storage we will have another structure that will give stability and strength to the bed. So no chance to fall down 😀
Now it was time to measure the place where the storage will be, over the bed on one side (over our feet).


#day 12
Luckily, we have some help with the furniture construction, and the first storage was made from one day to another. Hoppla ???? It was so well done and we were overwhelmed. Our expectations were not this high for our storage, and we can just be really glad about it. Time to apply it then. Screw after screw, it was coming to place to be really fixed there. It fit so so well and we really like the colour. The doors have a system that won’t be able to be opened while we drive, so we feel really glad about the result. Our van is starting to be a really tiny flat ❤????


If you don’t want to miss anything about this, subscribe ✌