Van Life Diaries
#day 3
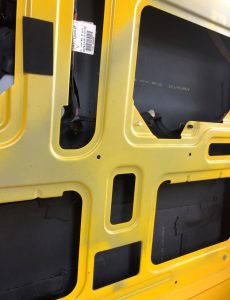
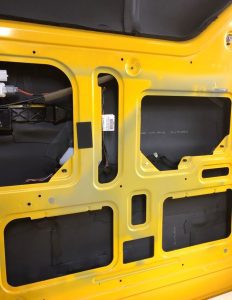
We spent the afternoon doing more insulation. It was time to insulate the sliding doors. First, we insulated the upper part of the doors which was quite easy because they needed big pieces of armaflex. After removing the protection from the doors, we discovered that there were lots of tiny parts which would take quite some time to insulate. Yay, motivation boost! 😉
Well, it needed to be done so we spent most of the time measuring, cutting & glueing the armaflex, making our way alongside the cables and other obstacles.
Additionally, we were finishing off some other parts, adding tape and so on.
In the end, we glued the wooden ribs to the floor with silicon so they could dry until the next time when we wanted to insulate the floor and the rest of the van. Luckily, we got help with that because we needed to make sure it had the right height.
#day 4
We had a ambitious goal for this day: Finishing the insulation!
Firstly, we finished the other sliding door and the ceiling. After that, we moved on to the back door. Each of the sides (again) had lots of tiny, tricky parts but the we also overcame this obstacle ????
After a quick lunchbreak we continued with our work & started to insulate the floor. As we could cut quite big pieces, it didn’t take too long & we finished everything off with tape. Last but not least, there was only the space over the cockpit left. It was hard to acess, a bit dusty and dark so there was quite some sweat & concentration involved. With teamwork and patience we managed to finish. So, we are officially done with the insulation! Yeeeesss ????????
#day 5
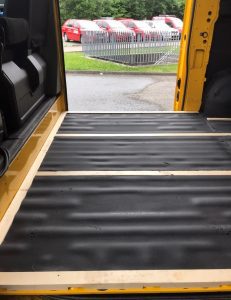
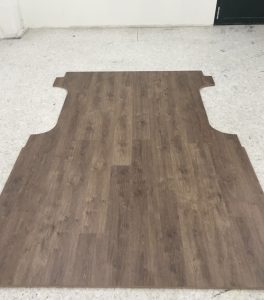
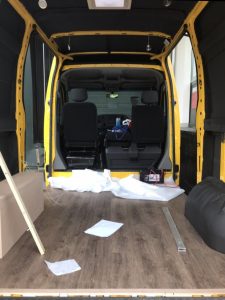
The day to finally put the floor arrived!
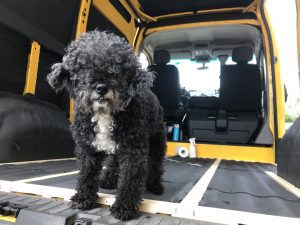
The wood was cut, the vinyl chosen and glued so we were ready to go. As we put the wooden ribs on the floor, we applied the silicon there. Afterwards, we lifted the floor board and slowly lowered and fixed it onto the ribs. That’s it! It didn’t take a lot of time. Luckily, all went well and we didn’t have to move the board or anything like that. We are so pleased with the result and how it looks. It makes such a difference! You could think it’s real wood but it’s all waterproof 😉 Now we can’t wait to put the rest up that our van looks even more like a home 🙂
#day 6
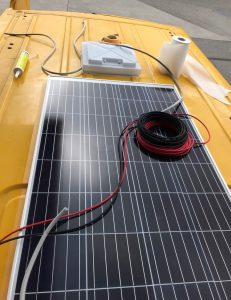
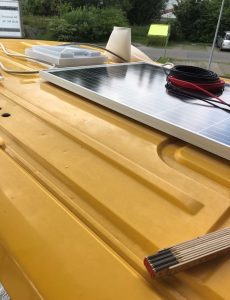
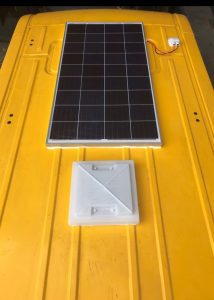
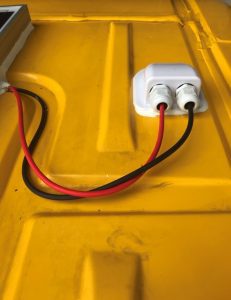
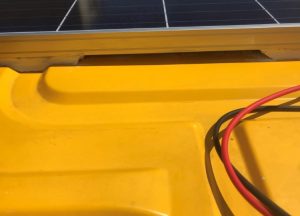
The goal of that day was to mount the solar panel. As we bought longer cables (because the one that came with the solar panel is too short) we needed to change it before installing it. It was a quiet easy work and was done quickly. After cleaning the roof, we positioned the panel like we wanted and marked it with tape. As the top of the van is not flat, it made the process slower. We had the same issue with the roof vent, so to be sure that everything is well done at the end, we needed to spend a bit more of the time on these tasks. After debating how to fixate it, we went for silicon. At the end everything went mostly good and we were quiet happy with the result.
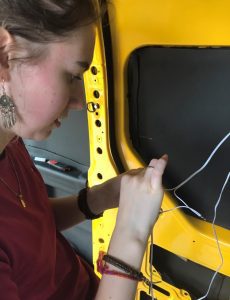
With that task done we decided to start to take care about the eletric cables (LED’s) and passed them through the van ribs to already be in the right place before we start to apply the wood on the walls and ceiling. As the cables were too short as well, we bought more to make it longer and to be able to reach the plugs we want.
It was finally time to start to test the eletrics. Solar panel installed, charge control and battery ready to be tested for the first time, et voilá. Everything was working nicely. The solar panel was charging the battery and the battery was giving power to the LED’s. Tiptop.
With help, we also could did the boxes that will cover the wheels under the bed.
In the next days we will start working on the walls and ceiling.
If you don’t want to miss anything about this, subscribe ✌